
Are You Making the Most of AV Technology in Australian Drama Education?

Integrating AV Technology
Exploring AV Fundamentals
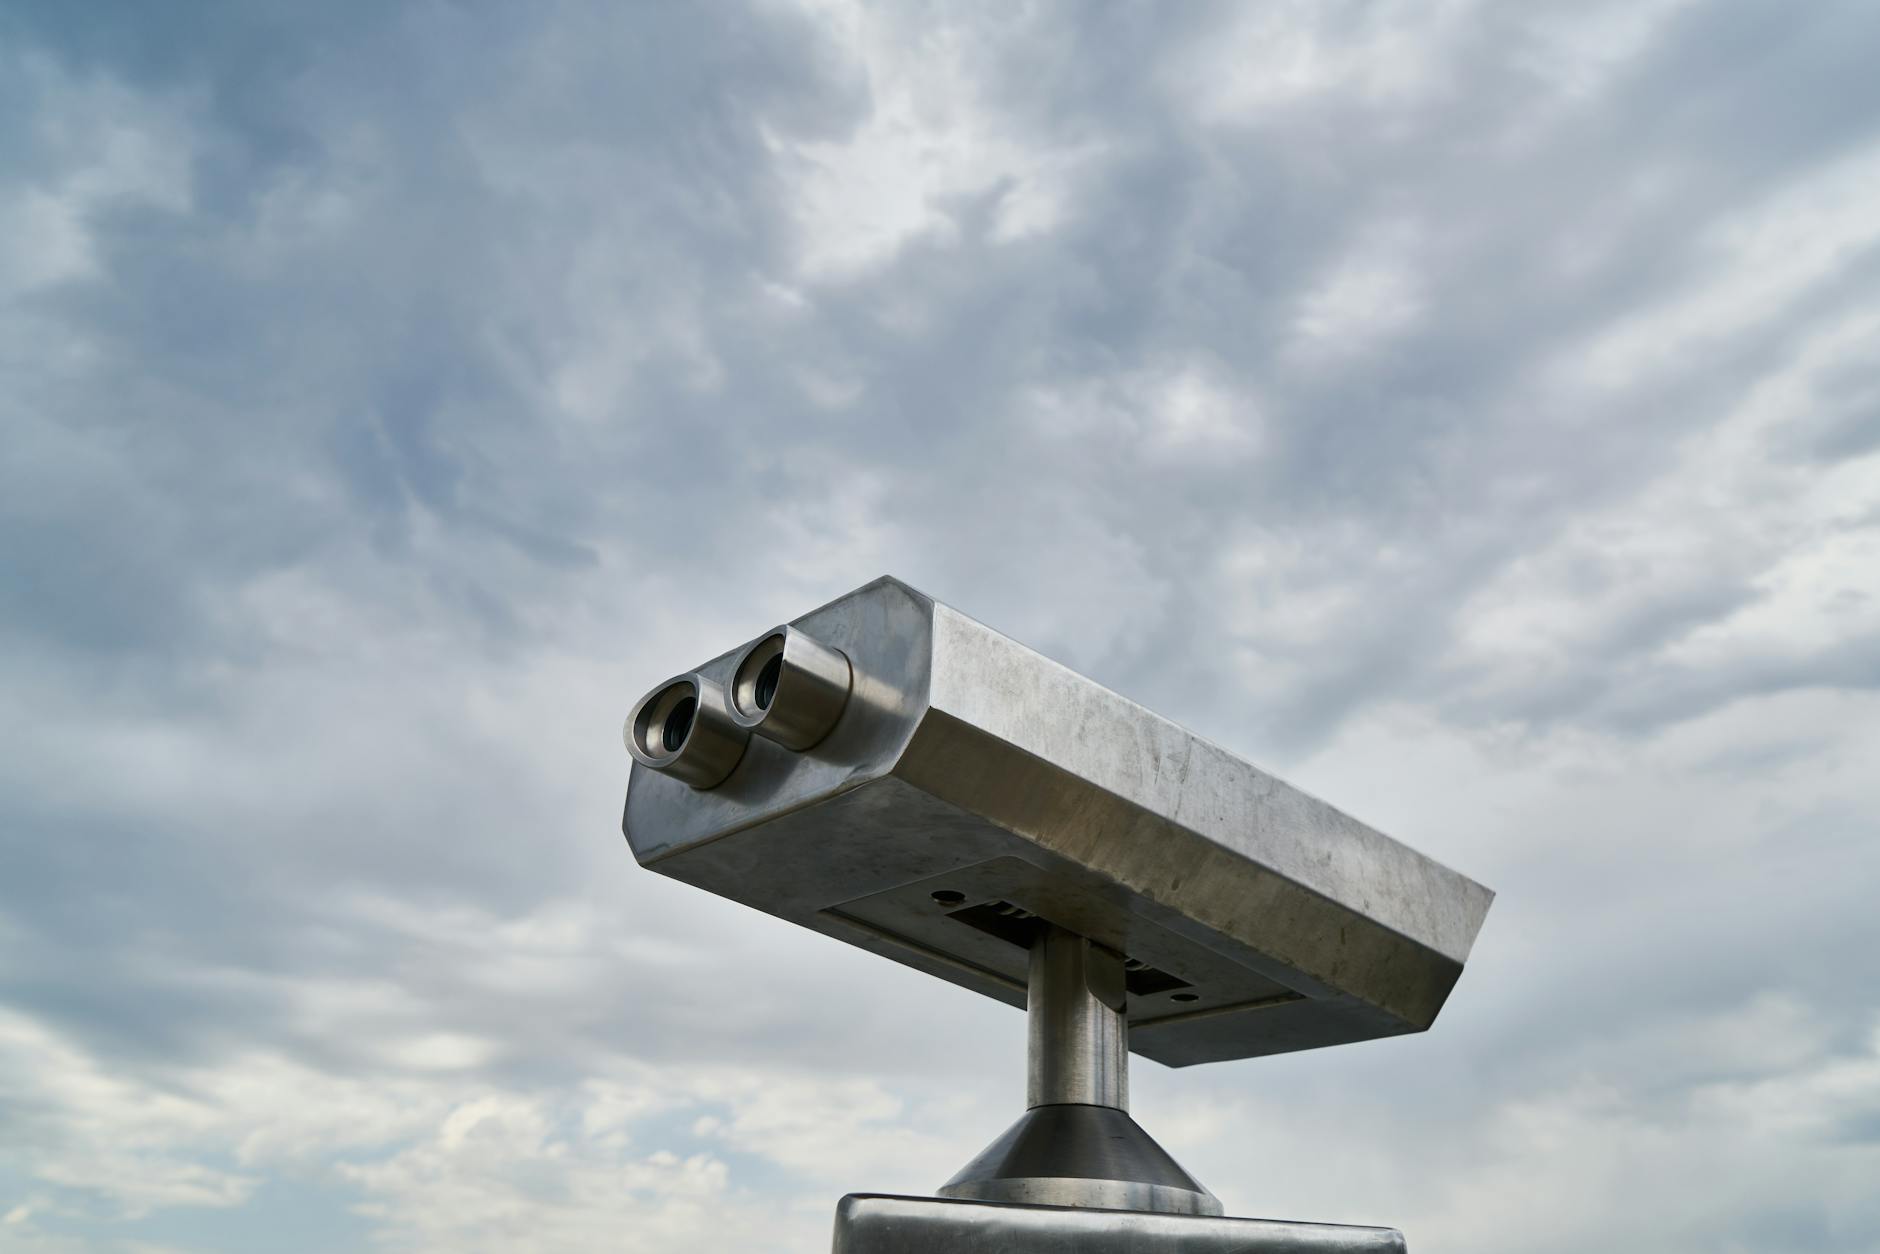
As a drama teacher, integrating AV technology into our lessons can enrich the learning experience for our students. Understanding the fundamentals of AV technology, such as loudspeakers, antenna tracking system, and ptz cameras, is essential for delivering immersive and interactive drama lessons.
Loudspeakers play a crucial role in ensuring that every whisper and shout can be heard clearly, allowing students to appreciate the nuances of vocal performance. Meanwhile, an antenna tracking system can be used to capture and relay live performances, providing an added layer of excitement and professionalism. PTZ cameras, with their ability to pan, tilt, and zoom, are perfect for recording and streaming classroom activities, enabling both in-class review and remote learning opportunities.
Incorporating these AV tools not only enhances the lesson delivery but also prepares students for the technical aspects of contemporary theatre production. In this way, we bring the energy and spec of professional theatres, like those on the Southbank, into our classrooms.
Benefits for Drama Classes
The benefits of integrating AV technology in drama classes extend beyond just enhancing sound and visual quality. These tools support various teaching methods, including:
- Interactive Storytelling: Students can engage deeply by influencing the story's direction through their choices, making the experience more personal.
- Multimedia Integration: Utilising video, audio, and digital effects enriches performances and helps students understand the multidisciplinary nature of modern theatre.
- Remote Learning: Technology like PTZ cameras and antenna tracking systems enable us to offer remote learning experiences, ensuring continuity in education despite geographical barriers.
By using these technologies, we not only make lessons more captivating but help students develop technical skills that will be invaluable in their future artistic endeavours.
Real-life Classroom Examples
Here in Melbourne, I've had great success integrating these technologies into my drama classes. Last year, we staged a student-written play referencing our beloved Melbourne Arts Centre. Using PTZ cameras, we streamed the performance live to parents and peers who couldn’t attend in person. The antenna tracking system ensured that our mobile actors were always in frame, capturing every moment with precision. Meanwhile, loudspeakers projected their voices clearly throughout the venue, ensuring every line was heard crisply.
By blending traditional performance with modern AV technology, we provided our students with a real-world theatre experience within the classroom. This approach not only fostered a deeper appreciation for the dramatic arts but also instilled confidence and technical proficiency in our aspiring young actors.
Essential AV Tools
Projectors and Screens
Projectors and screens serve as the backbone of many drama classrooms in Australia. Using these tools, I can easily display instructional content, such as scripts and stage directions, for my students to follow. Additionally, projectors enable us to incorporate multimedia elements, such as video clips and digital backdrops, which enrich our performances. To ensure the best visual experience, I recommend investing in high-quality av cables, which help maintain clear and uninterrupted signals from your devices to the projector and screen.
Sound Systems and Microphones
A well-equipped sound system is essential for enhancing the auditory experience of our students and audience. In my own classroom, a high-quality sound system can amplify student performances, ensuring everyone, even those seated at the back, hear the dialogue clearly. Additionally, microphones not only help project voices but also aid in recording sessions for later analysis. During our performances and rehearsals, the clarity provided by a reliable sound system can make a huge difference.
Lighting Equipment
Effective lighting is critical for setting the mood and tone of any drama production. I often draw inspiration from the theaters along the Southbank in Melbourne, where lighting significantly enhances the storytelling. With a comprehensive lighting setup, I can demonstrate to my students how different types of light and colours can evoke various emotions and reactions. This practical experience helps them understand the importance of lighting in drama and become more adept at manipulating it in their own performances.
Hearing Loop
Lastly, considering inclusivity, a hearing loop system can make your drama classroom accessible to students with hearing impairments. This technology ensures that all students can participate fully, fostering an inclusive learning environment where creativity can flourish without barriers. Incorporating a hearing loop shows our commitment to making drama education accessible to all, enriching the learning experience for everyone involved.
Implementation Strategies
Setting Up Equipment
Setting up AV technology for your drama classroom demands attention to detail to ensure optimal performance. Begin by assessing your space – take a look around and consider what areas would benefit most from enhancements. For example, positioning the projector to avoid shadows and reflections is key. Using a universal remote simplifies the management of multiple devices, allowing quick changes during dynamic lessons. Mounting speakers at ear level can enhance audio clarity, crucial for voice projection in performance settings.
Creating Interactive Lessons
Transform your lessons by integrating AV tools to create immersive experiences. Interactive whiteboards, for instance, can be used for script annotations in real-time, encouraging student participation. Incorporate video snippets of iconic performances to inspire budding actors. Leveraging acoustic panels in classroom corners can significantly improve sound quality, making dialogues more discernible and engaging. This also helps in recording high-quality audio for student projects.
Student Engagement Techniques
Engage students with techniques that harness technology effectively. Encourage students to record their performances using cameras to self-evaluate and gain insights. Organise Skype sessions with professionals from the University of Melbourne's drama department, integrating real-world experiences into the classroom. Additionally, use apps that allow students to edit their recorded scenes, reflecting on aspects like timing and expression. This multi-faceted approach ensures students remain enthusiastic and dedicated to their craft.
Understanding and implementing these strategies can transform a regular drama class into a space of innovative learning and engagement. By leveraging simple tools and techniques, we can elevate the drama education experience, making it more dynamic and effective.
Best Practices
Maintaining Equipment
As a music teacher balancing both teaching and performing, maintaining musical equipment is crucial for ensuring longevity and optimal performance. Regular inspections can help identify issues early, preventing unexpected failures during important sessions. For instance, checking the strings, knobs, and frets on guitars and basses can ensure they remain in excellent playing condition. Additionally, cleaning and properly storing equipment can prevent wear and tear. Keeping a maintenance log can also be a practical approach to track routine checks and repairs.
Enhancing Lessons
Enhancing lessons with the right mix of multimedia tools can transform the learning experience. Incorporating various forms of musical equipment such as digital audio workstations (DAWs), looping stations, and effect pedals can help students understand modern music production techniques. Creating interactive jam sessions where students use these tools to compose and perform can stimulate their creativity and engagement. Additionally, leveraging online platforms and video tutorials can supplement in-person instruction, offering students a broader perspective on techniques and genres.
Teacher Collaboration
Collaboration among teachers can lead to the exchange of valuable insights and teaching strategies. Setting up regular meetings or workshops within the music department can foster a collaborative environment. These sessions can focus on sharing tips for equipment maintenance, innovative lesson plans, and student engagement strategies. In some cases, teaming up for interdisciplinary projects—such as staging a performance involving both drama and music students—can provide a richer educational experience. By working together, teachers can inspire one another and continuously improve their teaching methodologies.
Common Mistakes
Incorrect Setup
Ah, the dreaded tech setup! We’ve all been there – fumbling around with wires and remotes, trying to get our AV equipment to cooperate. One common issue is incorrect setup, which can lead to disruptions right in the middle of a lesson. Always ensure that projectors are calibrated correctly and sound systems are working flawlessly. Double-check your connections and make sure your equipment is placed where it can be easily operated. A quick run-through before class, perhaps referencing the expert practices at the Melbourne Arts Centre, can prevent these blunders and keep the show running smoothly.
Neglecting Maintenance
Ignoring regular maintenance can be a bit like walking on a tightrope without a safety net. Over time, equipment naturally wears down, and without proper care, you might find yourself without crucial tools right when you need them most. Consider establishing a regular maintenance schedule, inspired by the meticulous upkeep seen in the theaters along the Southbank. Clean your projectors, check your microphone batteries, and ensure your lighting equipment is functioning perfectly. This routine will save you from the nightmare of malfunctioning devices during peak class hours.
Overlooking Student Interaction
Finally, the heart of drama education – student interaction. One might easily get swept up in the glamour of AV technology and forget that our ultimate goal is student engagement. Ensure that you’re not simply displaying information but also fostering an interactive environment. Leverage tools like online platforms to encourage collaboration, much like students at the Melbourne drama agencies, or create engaging activities that require active participation. This involvement not only enhances learning but also keeps your tech-savvy youngsters hooked.
By steering clear of these common mistakes, we can harness the full potential of AV technology, creating a seamless and engaging experience for our students. Happy teaching and smooth tech sailing to all!